Home of dirty dishes, appliances, and tons of other random crap that just accumulates there no matter how hard you try to keep it away. And you know that the only way to clean them properly is to remove all that crap and scrub them, but there's just so. much. crap. And besides, where else is it all supposed to go? So, you shove stuff to the side, and wipe the bits you can see, and before you know it, the toaster oven is glued to the counter with some kind of mystery substance.
Circuit cleaning lets you deep clean without having to relocate all that stuff. You start by clearing out one manageable section of counter, cleaning it thoroughly, then putting everything back and moving on to the next section. (Note: this method also works on other cluttery areas, like mantels or bedrooms.) It's really pretty simple, and you're probably already doing it, but since I've been neglecting this blog (and my house) lately, I deep-cleaned my kitchen and made a photo tutorial. These pictures span one day, during which I was home alone with a one-year-old and a three-year-old, so it really only shows a few hours or less of actual work. The difference a few hours makes (to me at least) is pretty mind-blowing.
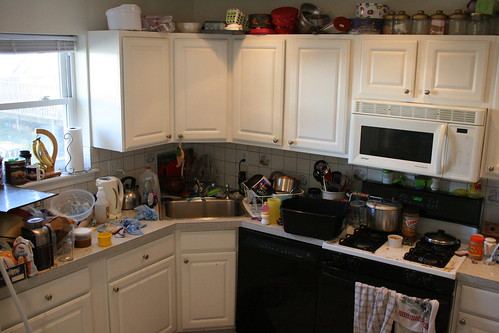
- Do enough dishes to thin the herd. You need to be able to see at least SOME countertop. (I apologize for not having a proper "before" picture. I decided to do the tutorial after I had already washed a bunch of dishes.)
- Pick a corner to clean first. Start far from the sink and work towards it. I usually choose to start in the corner that it the most entrenched in junk. For me, this is my cookbook/coffee corner.
- Clear away an approximately two-foot-wide section of counter. Put dirty dishes by the sink. It doesn't really matter where you put other things - I mostly just move them to another section of counter - but if you have something in your hand that can be put away, by all means, put it away.
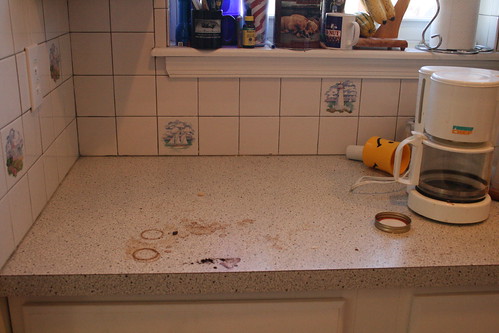
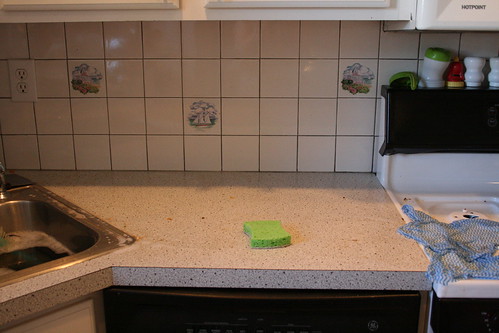
- Ew. That counter is gross. Well, you know the Crappy Housewife motto, "Let it soak." Throw a wet cloth over those gross blobs. Now go wash a dish or two while you let the water do its magic.
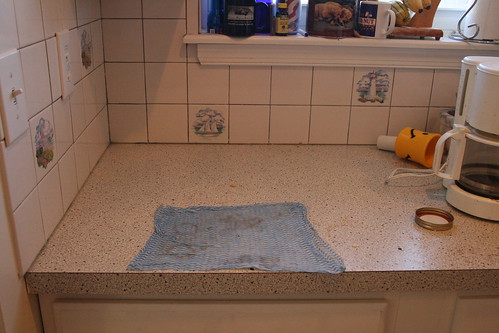
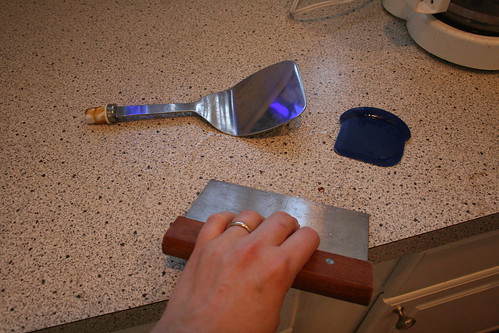
- Wipe up the gross stuff under the cloth. Then clean the rest of the counter thoroughly with soapy water (or other cleaning product). Use your scraper of choice to loosen any tough globs. (The picture below shows my three favorite scrapers - a spatula, a pizza stone scraper and a big dough cutter thingy.) Personally, I like to scrape the big metal scraper across the whole countertop, just in case there are invisible globs that my cloth missed. Dry the counter well with a towel.
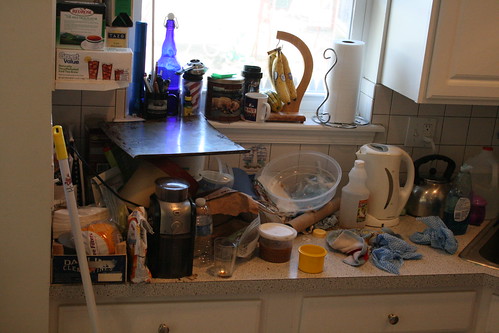
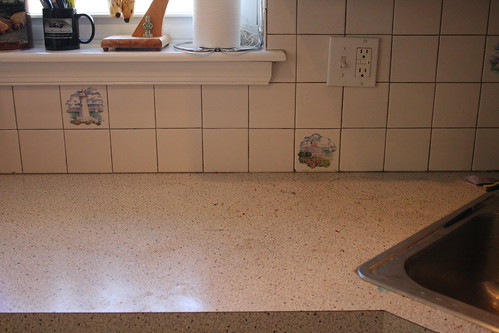
- Put everything back in the first section that belongs there. Honestly, even if nothing gets put away, just having it sit in nice rows on a clean counter makes your whole kitchen look better. Clear the next section of counter. (Which, in this case, included a very cluttered windowsill.)
- Clean surfaces, replace crap.
- Clear the next section of counter, up to the sink. When you get to the sink, stop. You'll come back later and do the sink last. I have a good reason for this.
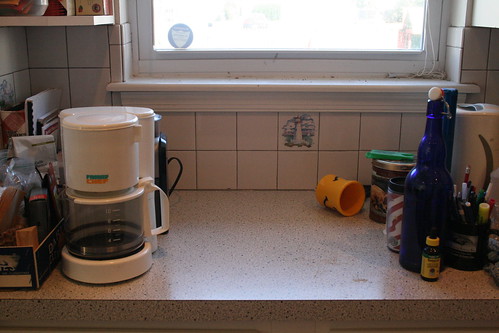
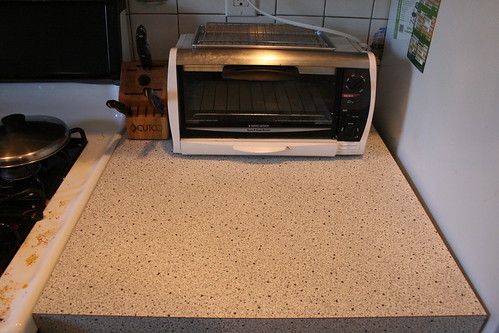
- Clean section, replace crap. Left half of counter complete:

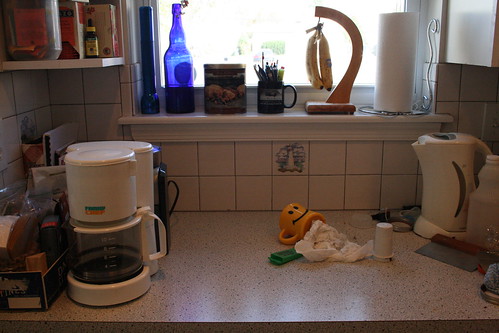
Right half of counter still nasty: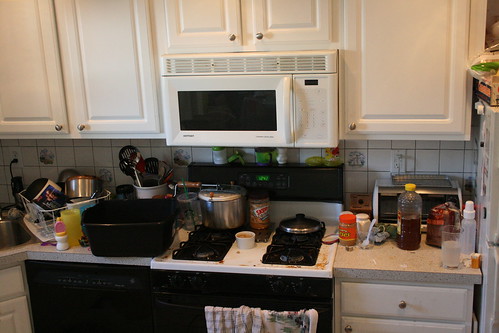
- Jump to the other corner, and repeat the process on that section of counter. Clear, clean, replace. Whenever you move an appliance, it's a nice idea to wipe it down before replacing it, including the little rubber feet that somehow always seem to be encased in something gooey.
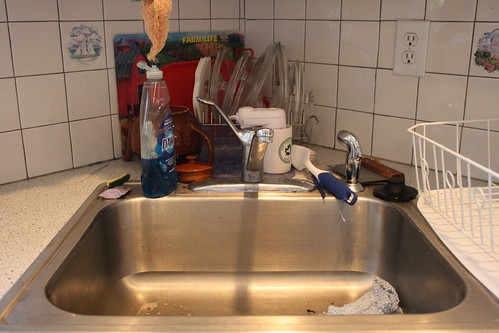
- The next section of counter is actually the stove, which desperately needs cleaning. Remove all removable components from the stove and put them in the sink to soak (this is why we didn't clean the sink, yet).
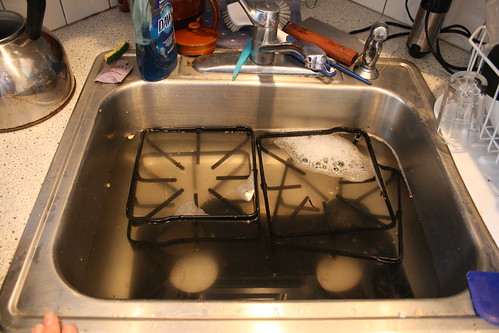
Put wet cloths all over the surface of the stove to soak.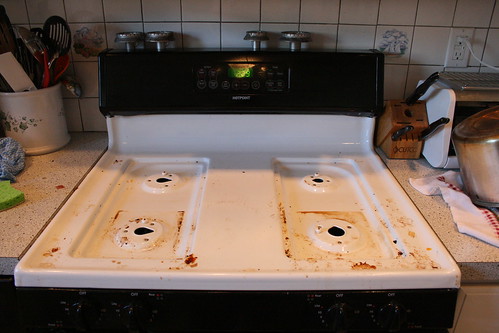
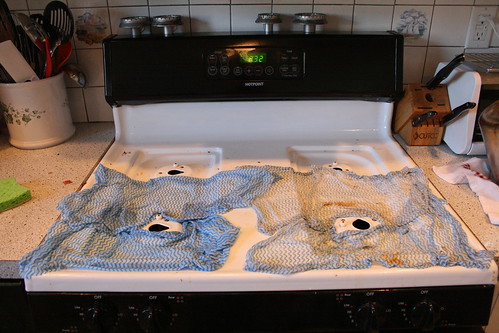
- Okay, this stove-soaking project is going to take a while. You can clear the next section of counter while you wait.
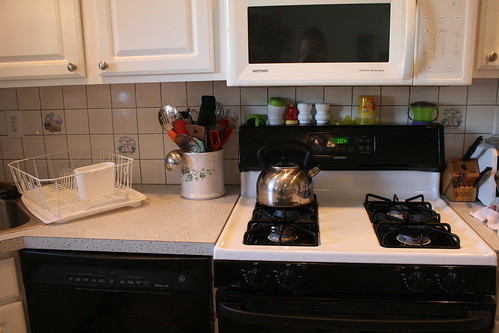
- Clean the surface of the stove, clean the next section of counter, then wash all the stove components you removed. Dry them and reassemble the stove.
- Now all that's left is the sink and the stuff behind it. I don't actually have another place to put most of this stuff, so these before and after photos will show you how much of a difference the remove/clean/replace system makes even when you keep the clutter.
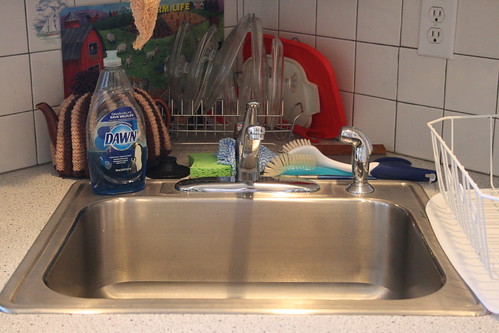
- Step back and enjoy the view. (Just don't look at the floor, which suddenly looks so much worse in juxtaposition with the counters.)

BONUS TIP: Did you notice all the dirty dishes in that last picture? No? That's because my sister gave me the most awesome Crappy Housewife Tip, which I started using as soon as I made a trip to the store and bought the biggest dish tub they had in stock. Look back at the after picture of the whole kitchen. See the big black tub? It's full of dirty dishes. But because they are in a TUB, they have a place to be without cluttering up the counter or the sink. Brilliant. Thanks, sis!
No comments:
Post a Comment